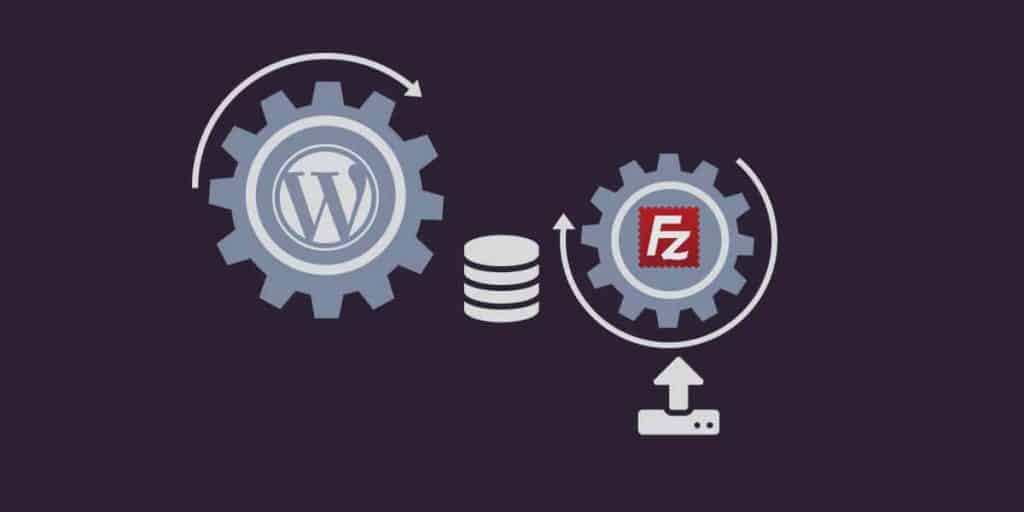
So you just bought a new domain and hosting for your new site. You have decided that it will be powered by WordPress, just like more than 25% of the web. If your host provides an automated installer like Fantastico, Softaculous, or Installatron, you can get up and running in hardly 2 or 3 minutes. But if your host does not provide such automated installers or you would like to install it yourself, then follow along. We will show you exactly how to Install WordPress manually through FTP FileZilla.
Manual installation requirements
Make sure you have the following things ready
- Login details for your hosting cPanel / control panel
- FTP login details
- FTP client software
Setting up FTP client
An FTP client is a software that enables us to transfer files from our local computer to a remove server. We need this because we will have to transfer WordPress installation files to our host server for manual installation. Just like any other software, you have lots of choices while choosing your FTP client. We recommend FileZilla, a great free cross platform FTP client
Download a copy of this software for your platform and install it. Once installed, open FileZilla and go to File > Site Manager
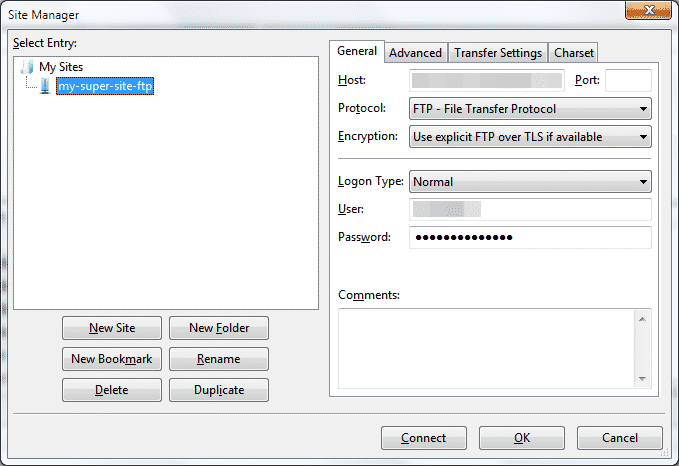
Click on New Site and fill in login details for you host FTP account
- Host
- User
- Password
Download WordPress
It’s time to download WordPress installation files. It is always a best practice to download the latest stable version from the official site
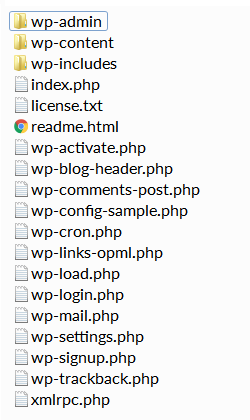
At the time of this writing, version is 4.4.1 is the latest stable release. The download is available in two different compressed formats, download any one you like. If in doubt, download the .zip format as it supported in all platforms. Once download is complete, locate the downloaded file and extract its contents. You will need to upload this to your host.
Upload WordPress to your server
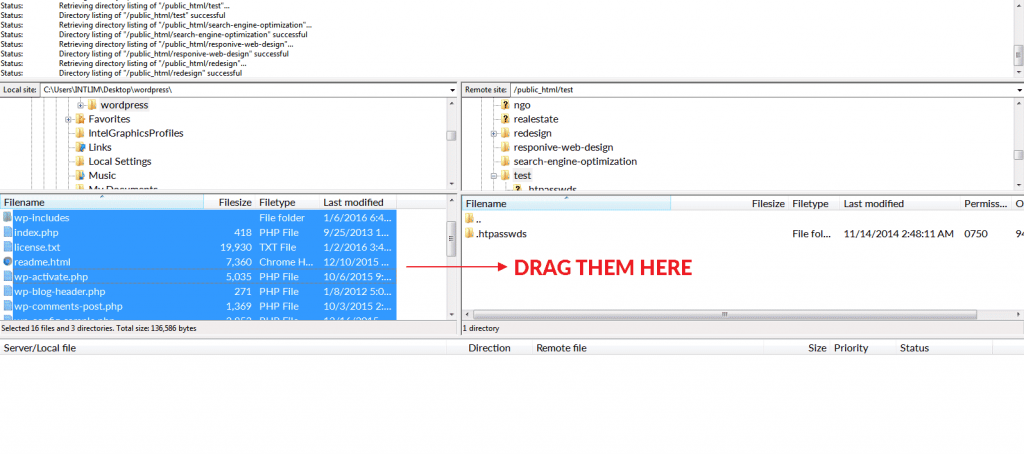
Now its time to upload your files to your host. Go back to FileZilla and connect to your host. There are quite a few panels in FileZilla.
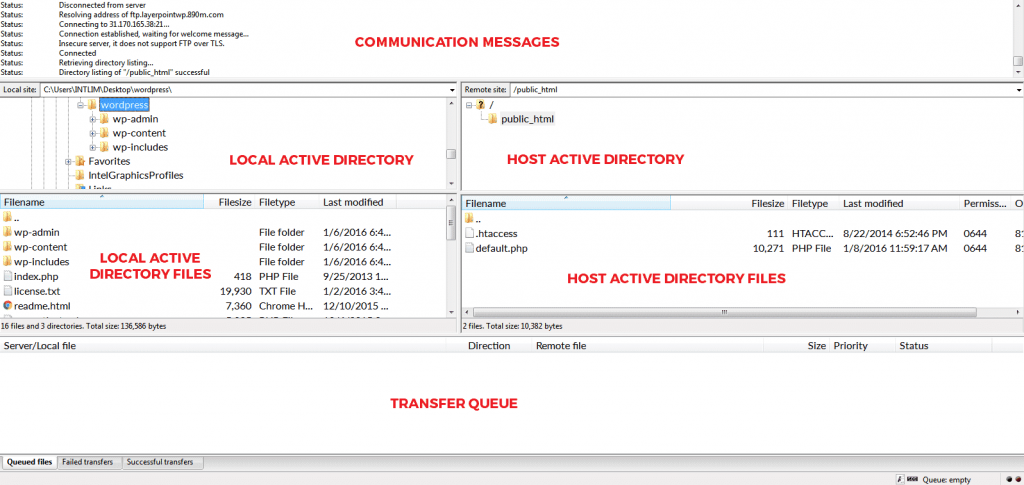
The top panel shows communication messages between the local computer and the server.
Just below are two panels, one on the left shows the current active directory on the local machine. The other one on the right shows the current active directory on the server.
Another group of 2 panels follow, they show the contents of the currently selected directories in local and remote machine respectively.
The bottom panel displays all files being sent and received between the local and remote machine.
Now that you know what those panels are for, here’s what you need to do. Make sure that the currently active directory on the local machine is the WordPress directory which you extracted from the downloaded compressed file earlier. The active directory on the server should be pointing to the directory you are planning to install WordPress. If you are planning to access WordPress directly from your domain address, for example “domain.com/” then you must upload your files to the root directory, generally public_html or www.
Making sure that the proper directories are selected, drag all files from the active directory on the local machine on the left pane to the right side pane, i.e. to the pane showing the files of the active directory on the remote server. FileZilla will start uploading your file
Depending on your connection speed, it might take some time while files get uploaded.

When the transfer is complete, you will notice that FileZilla queue is now empty. If you right click on the remote server files pane and click refresh, you will see that all the files have been transferred. You might see some additional files on the remote server. You can safely ignore them. At this point we are half way there.
Setting up Database
WordPress needs a databse to run. More specifically, it needs a MySQL database and that is what we are going to create here. MySQL is extremely populat database and is supported by all major hosts.
This is the only step, where you might face some difficulty. But if you follow the steps mentioned here, it won’t be that difficult. Be careful when making any changes. Remember, your cPanel might look different, or you may have other options available, but the core process is always same. Here’s what you need to do
- Login to your host cPanel
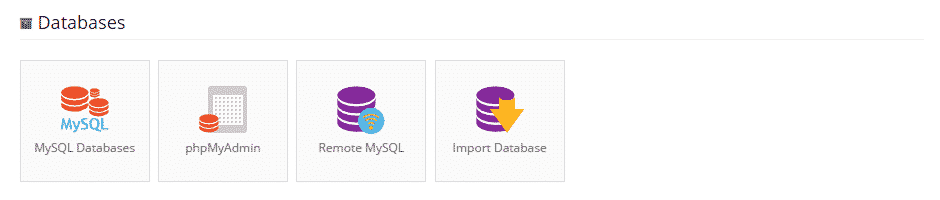
- Look for MySQL in your cPanel and open it.
- Create a database.
- Create a database user.
- Give all privileges to the user on the database.
Create the Database and user
Login to your host cPanel, locate MySQL databases and open it.
Give your database and database user any name you like. Its best to use the password generator to generate a strong password. Make sure you write down the database name, database username and password you’ve just created. You will need those for the installation process.
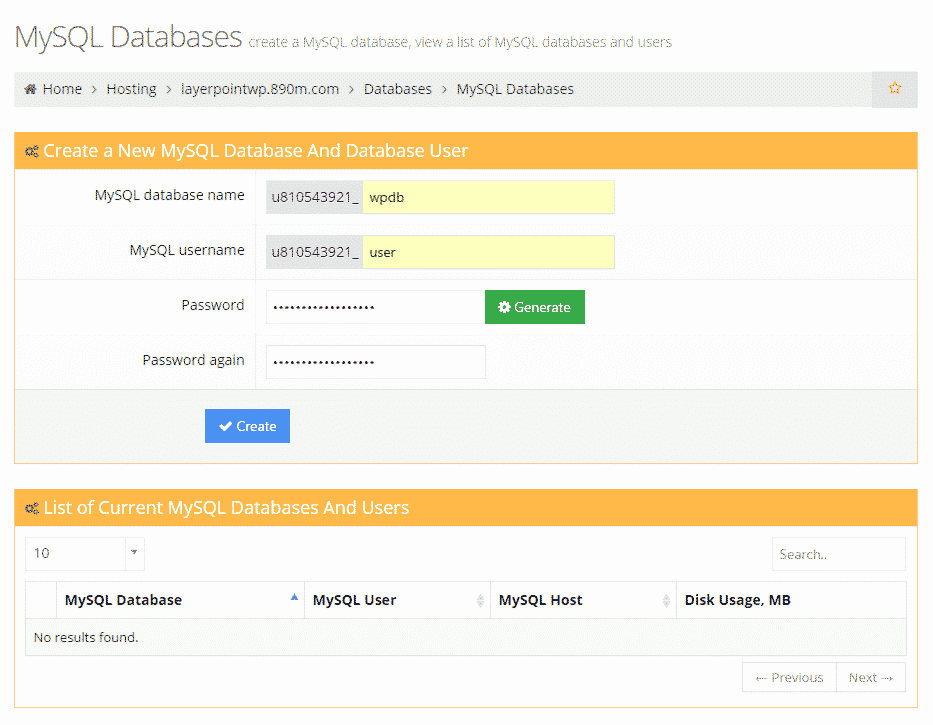
Once the database and user has been created, they will be listed in the list of MySQL databases and users section.
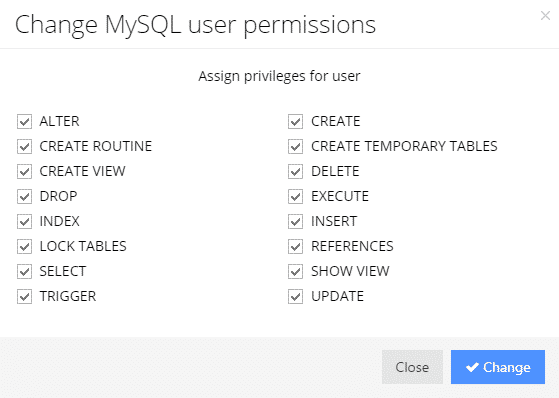
[lp_title tag=”h2″]Give all privileges to the user[/lp_title]It’s time to give our database user all privileges on the database. Click on the new database or look for a assign privileges or permissions settings. Please note that on some hosts, permissions option may not be available. In such cases, the user most probably already has all the privileges on the database. You can always consult your host support team if you are in doubt.
In the figure below, the option we need is “Change permissions”
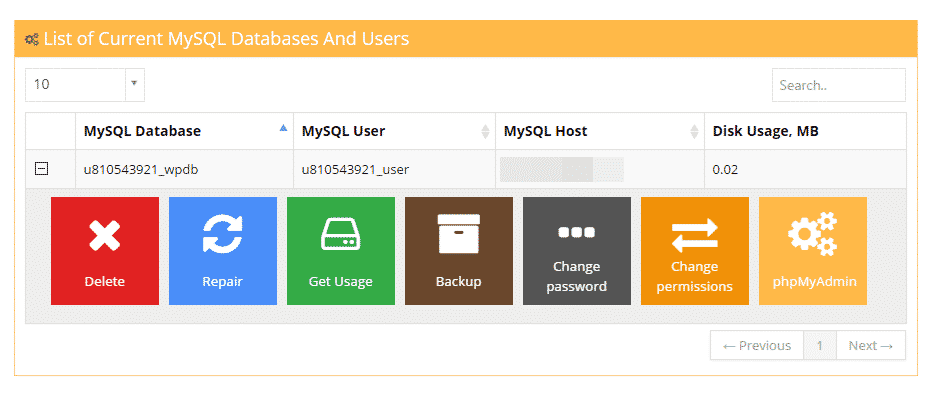
Make sure all checkboxes are ticked. This will grant all permissions to the user on the database.
Save your settings. Congratulations! You have just completed the most difficult part of the process. We are almost there. Now it’s time to install WordPress.
Install WordPress
Open your browser and navigate to your domain. You will land on the language selection screen
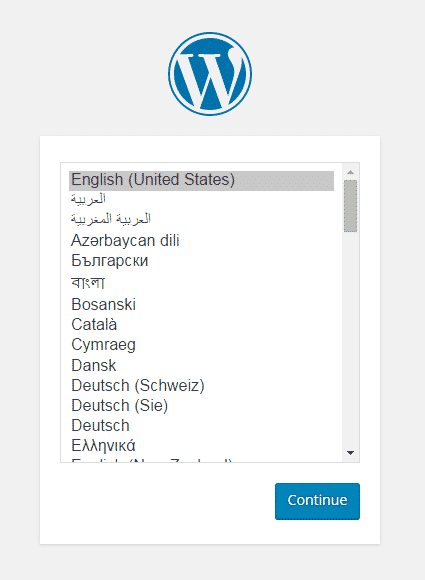
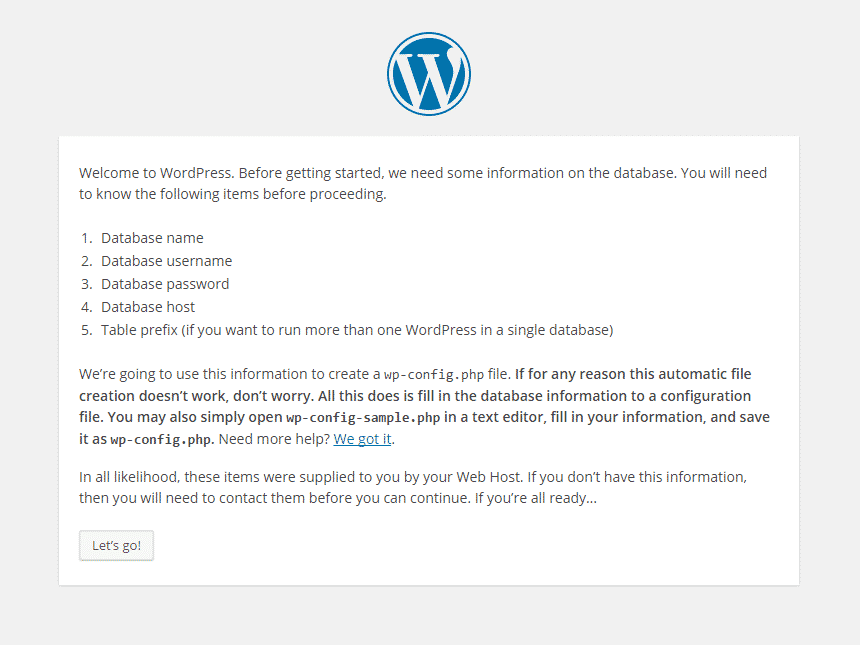
Select your preferred language and click “Continue”. On the next screen, you will be informed about the database requirements. Click “Let’s go!”
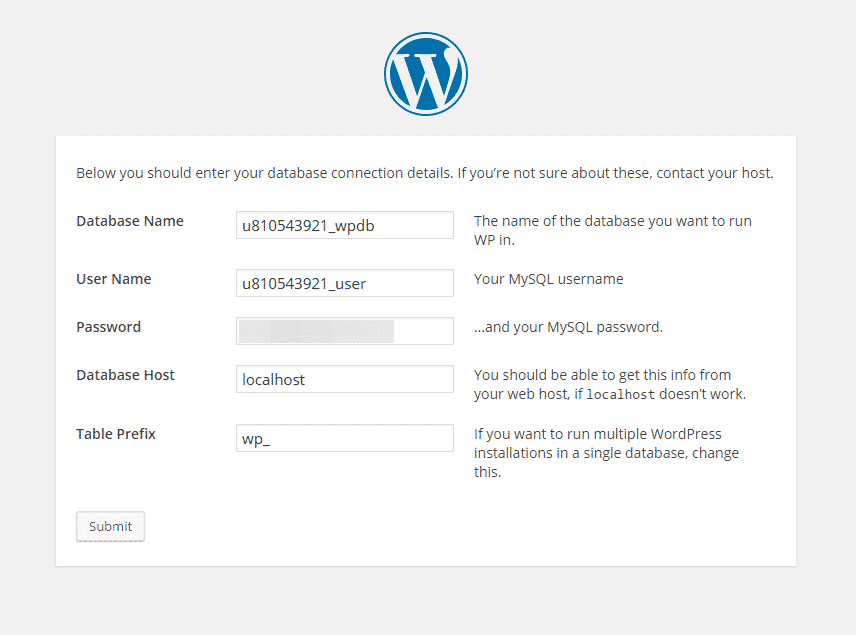
You already have database name, database username and database password. Database host represents the address where the database is located. You can safely keep it to default. Table prefix is used to install multiple WordPress on a single database. Change this only if you intend to do so. Fill in all the details and click “Submit” button
If everything is correct, then you will land on the following page
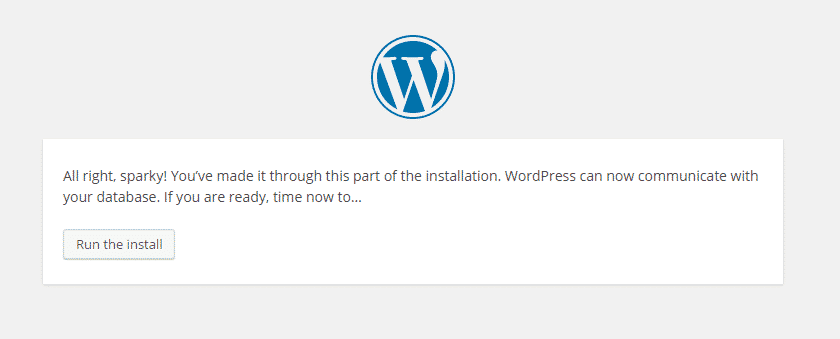 Click “Run the install” and you will be taken to the famous five-minute WordPress installation page.
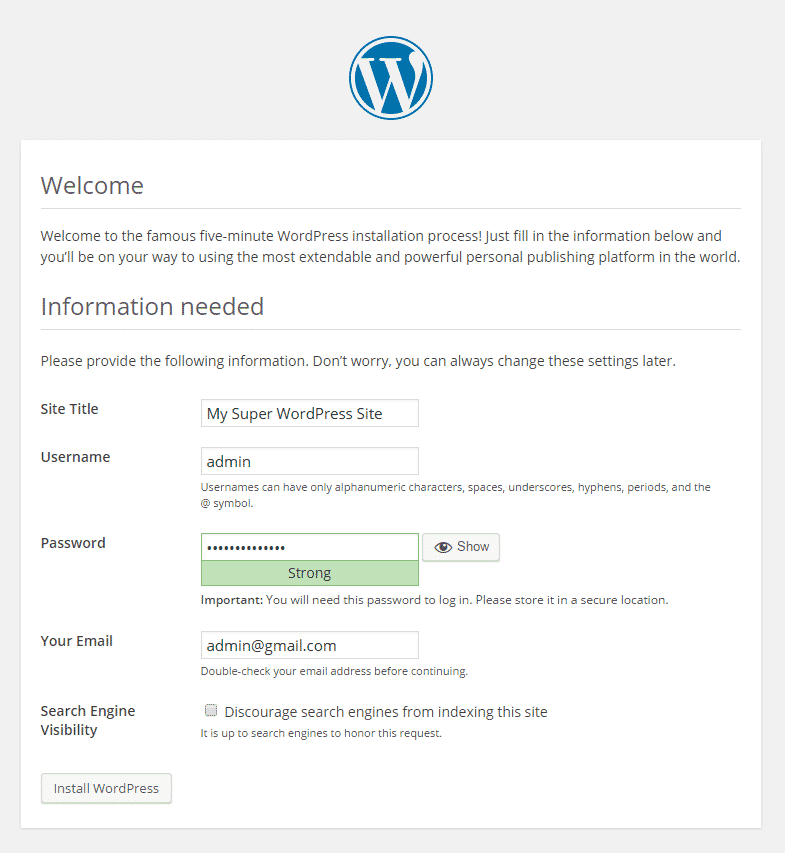 You will need to provide a title for your site, an admin username, admin password and admin email address. For tutorial purpose, we are using the user name as “admin”, but don’t use it on a live site. Leave everything else set to default. Click “Install WordPress” to start installing WordPress
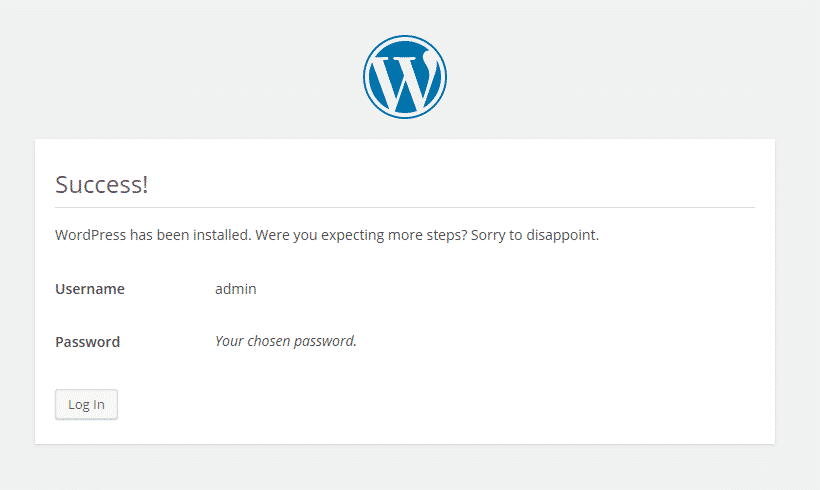 And that’s it. Your awesome new site is now up and running, powered by WordPress. You can now start using your site. Click on “Login” and login with your login details or visit your site and check it out.
Conclusion
WordPress has one of the most simple installation procedures. Just download the installation file, extract and upload it to your host, configure the database and run the WordPress installer. It’s even easier with an automated script installer. Knowing how things work under the hood is always an advantage. You will be able to install WordPress on any host, no matter if it has an automated script installer available or not.
We hope that you enjoyed reading this article and found it useful. If you have any doubts or questions, then please drop us a comment or reach us on social media.