Do you know that you can create fully functional WordPress sites in your computer and test them without any internet connection. WordPress needs an environment to run on and setting up that platform on your local computer is known as setting up a local server environment. As you will see, setting up a local WordPress website is really easy although it may feel like a complicated process. In this article we will show you how to install WordPress locally on Windows using the WAMP software.
What is WAMP
Installing WAMP
The first thing you need to do to install WordPress is to get WAMP installed on your local machine. Go to official WAMP site and download a copy of the software.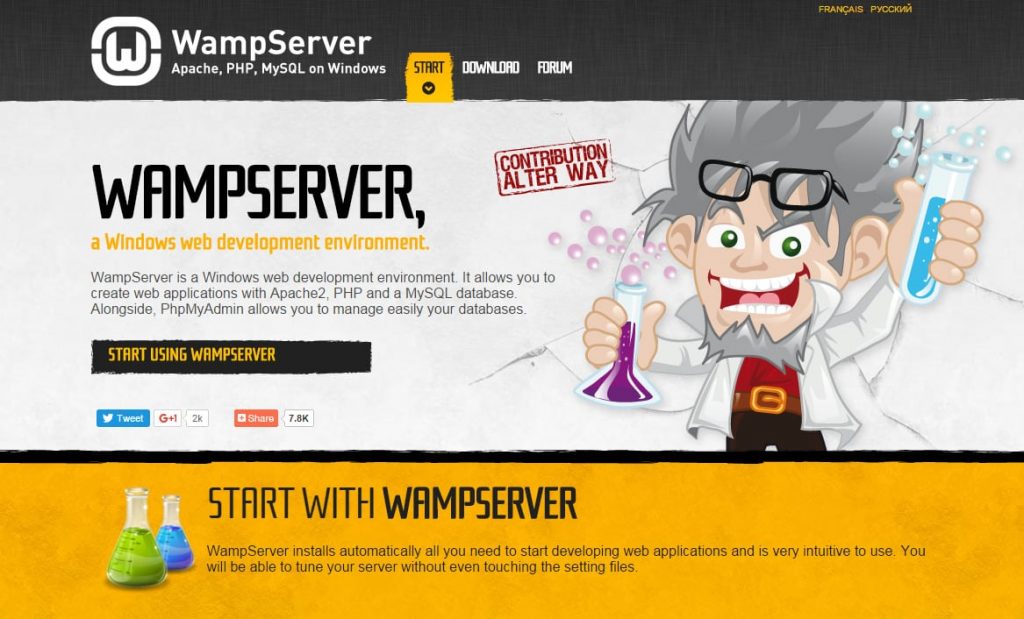 WAMP is available in both 32bit and 64bit versions. If you are not sure which version to download, then choose the 32bit version as it will run on both 32bit and 64bit Windows.
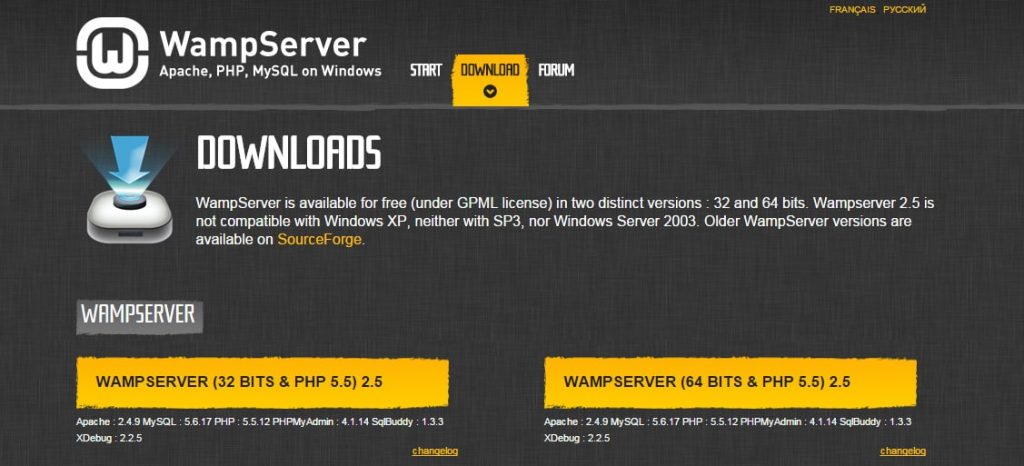 Once downloaded, launch the installer. You may receive some notification or warning about installing the software. You can safely ignore them here but always use your best judgment. The installation wizard will guide you through the installation process.
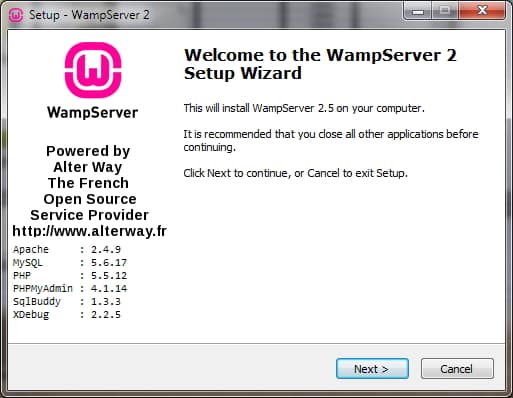 WAMP is released under GNU General Public License – just like WordPress
Select where you would like to install WAMP, we are installing it in the default wamp directory in C drive. Make sure you have sufficient free space available (at least 450mb is good) or else software installation will fail!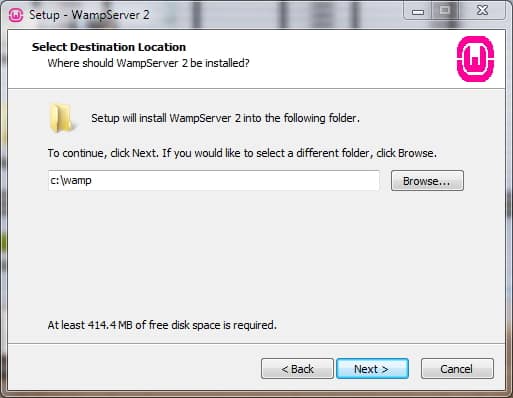
You can create a Desktop icon and a Quick Launch icon for quickly launching WAMP. If you decide not to create any icons, then you will need to go to WAMP installation directory and launch WAMP from there.
![]()
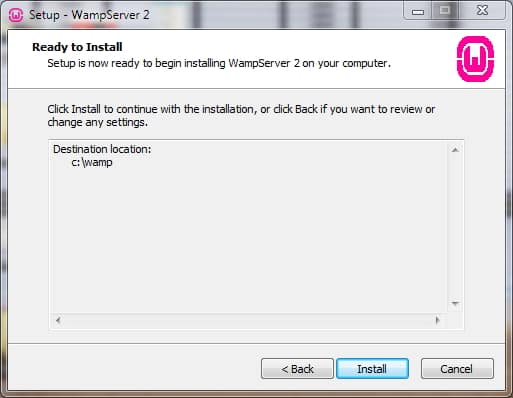
WAMP is now ready to be installed, but giving you a last chance to backtrack and make any changes if you desire. Hit the “Install” button to start installing WAMP
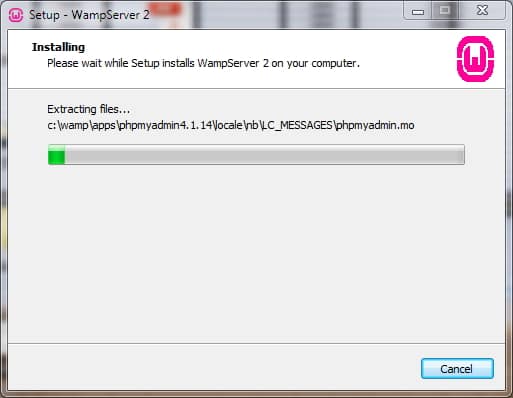
Wait while WAMP is installed. One time during the installation, WAMP will ask about the default browser it will use. Just browse to the location of your preferred browser – Chrome, Firefox or any other.
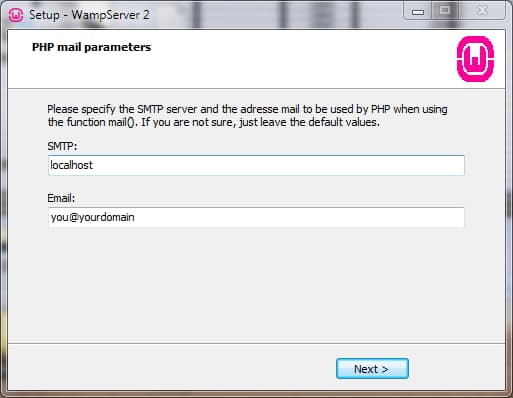
Once WAMP is installed, it will ask you to provide PHP mail parameters. We recommend that you leave them untouched unless you want you use PHP mail on your local environment.
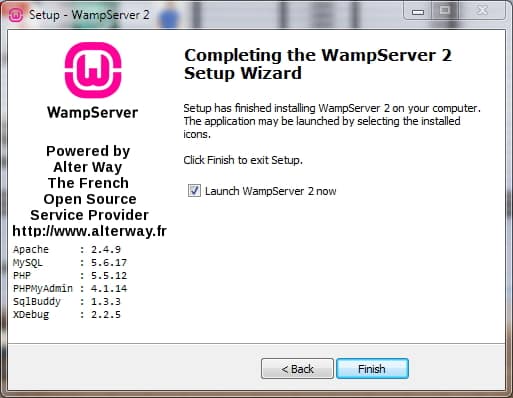
Once installed, WAMP will ask you if you would like to lanuch WAMP server now. Leave it checked and click “Finish”
Once WAMP is up and running, you should see a green WAMP icon in your notification area. cong It might take a minute or two for the icon color to turn green. If the color of the icon is not green, then something is wrong with your WAMP installation!
![]()
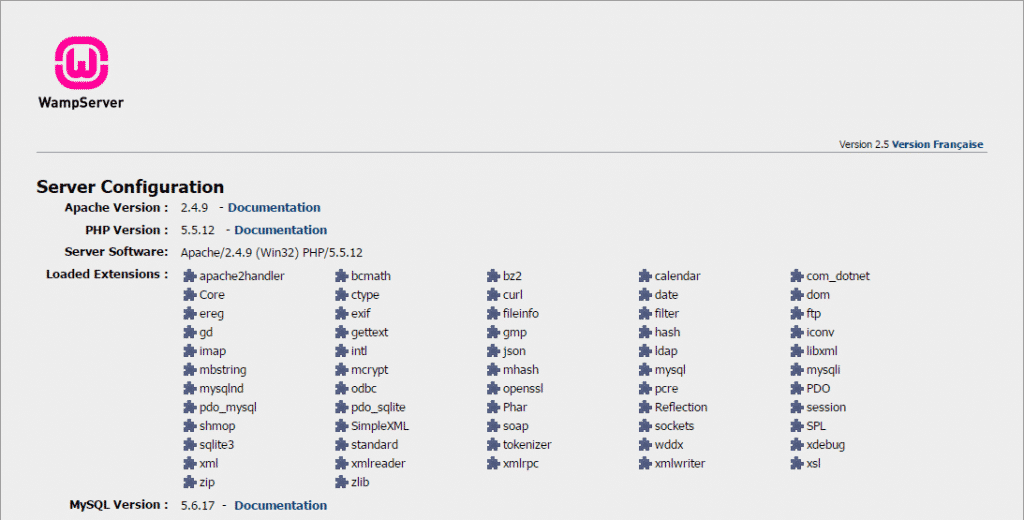
If the icon is green then you can congratulate yourself. You have successfully installed WAMP server in your local computer and first step of WordPress installation. To test your local server, open your web browser and go to address
http://localhost/
and you should see a web page similar to the following
Creating a MySQL Database
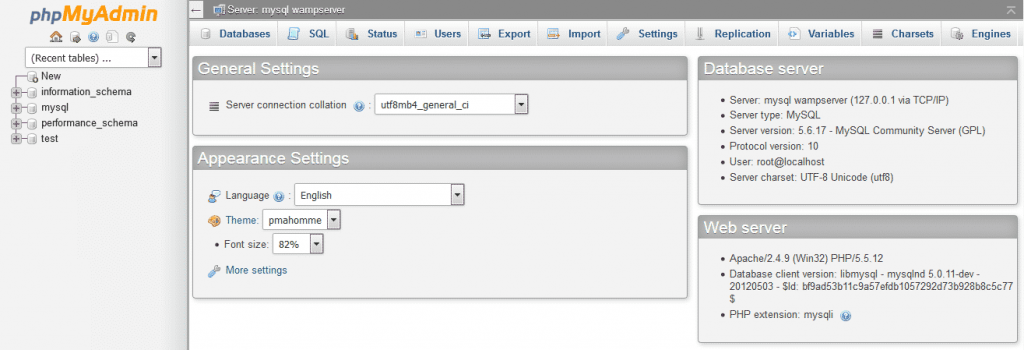
Our web server is already installed. But before we install WordPress locally, we need a database. WAMP comes with phpMyAdmin, a web based application to manage MySQL databases. Click on the WAMP icon on your notification area and select phpMyAdmin
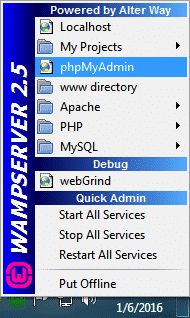
Your web browser will open and take you to phpMyAdmin. You can use it to create a database.
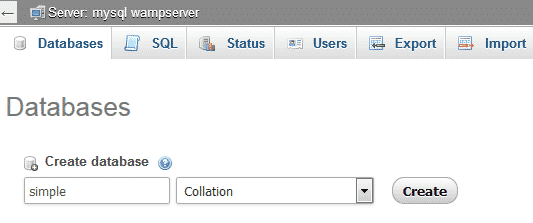
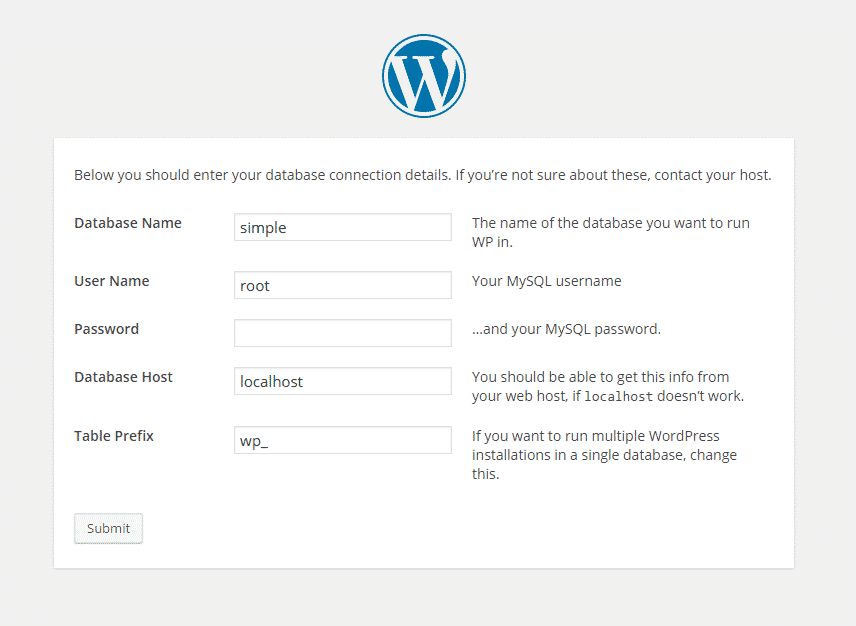
Click on Databases in phpmMyAdmin to create a new database for WordPress. Choose a name for your database. Here we are using name “simple”. Click on Create button.
Install WordPress
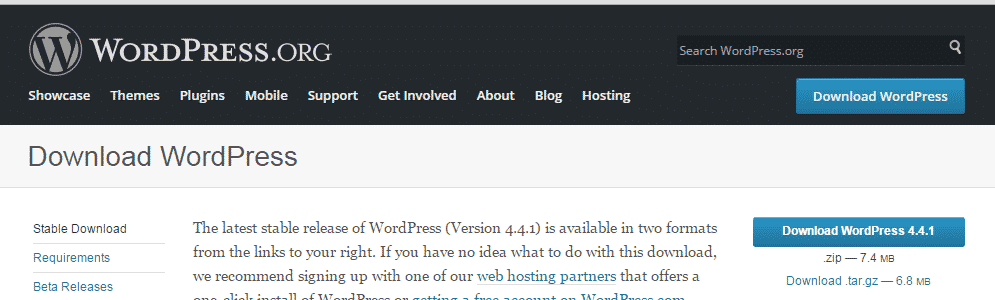
Download a recent version of WordPress from wordpress.org
At the time of this writing, the latest version is 4.4.1
Once downloaded, extract the contents of the compressed file. You will get a folder named “wordpress”. You can rename this folder to anything you like. If you are planning to install multiple versions of WordPress on your local server, then you need to rename each directory to a unique name. We renamed our to “simple”. Copy that to a folder named “www” within your WAMP installation directory, in our case it is “C:\wamp\www\“. Now open a browser and go to address http://localhost/simple
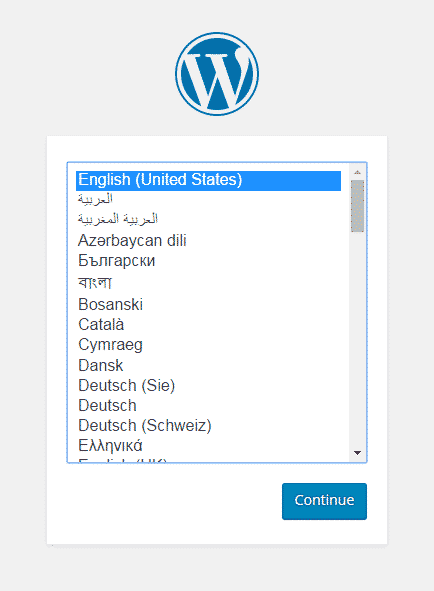
You will be taken to the WordPress installation page. In the first step, you will be asked for your language of preference. In our case, it is “English” – select yours and click “Continue”
On the next screen, you will be informed about the database requirements of the installation.
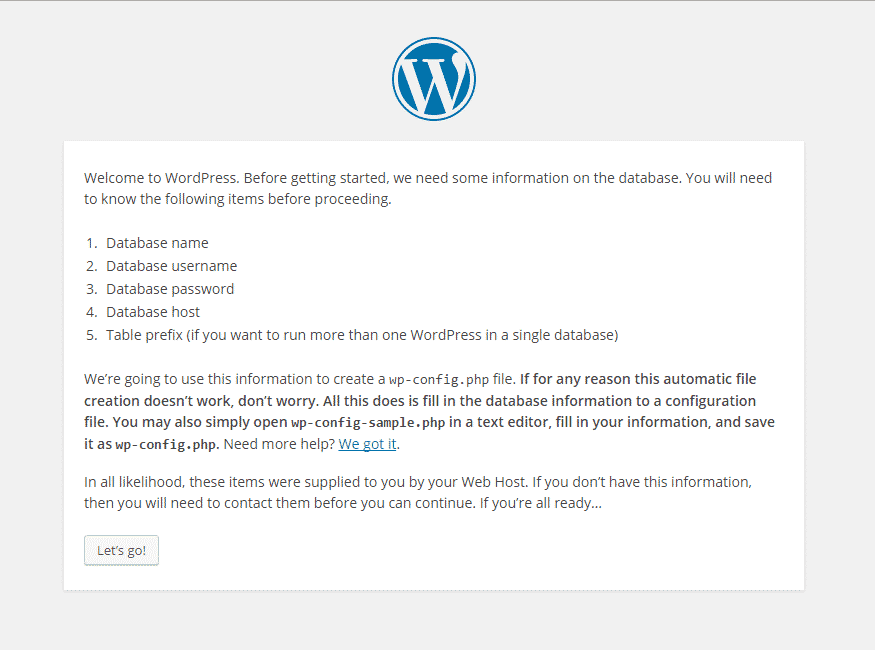
Here’s what is needed
- Database name: The name you used while creating the database, in our case “simple”
- Database username: We will use the default MySQL user, its “root”
- Database password: The password will be blank
- Database host: This is address of host where database is located. Leave this as it is
- Table prefix: Change this only if you are planning to run multiple WordPress installation in a single databse. Otherwise you can safely ignore this optionClick “Let’s go!” button, fill in the data and click “Submit” button
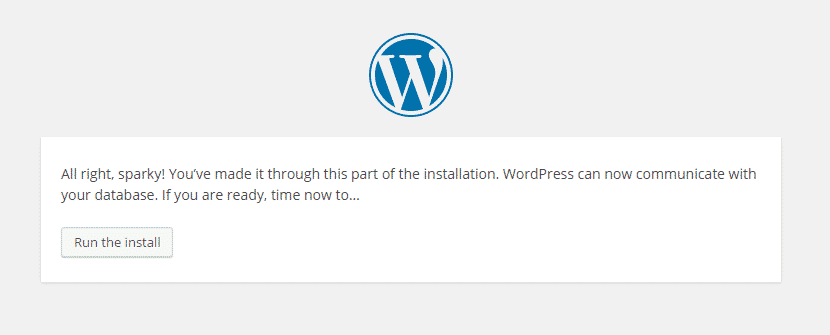
If everything worked fine, you will land on a page informing you that a part of the installation process is now complete and you can now proceed with the installation. click “Run the install” button
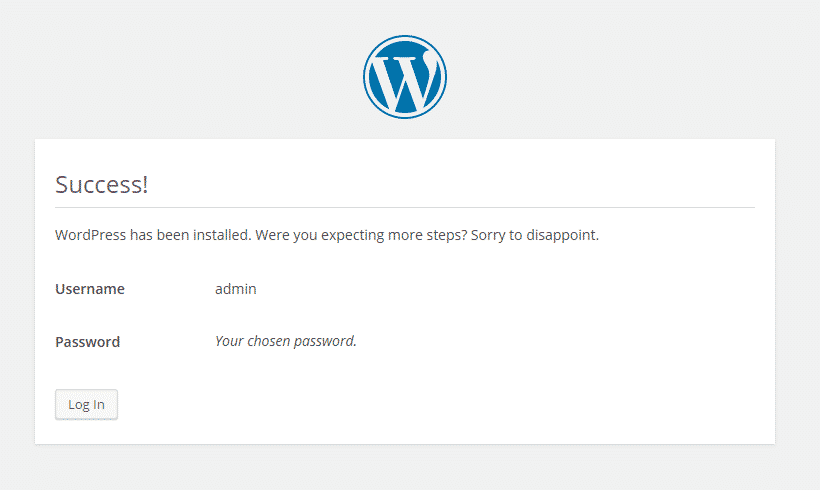
You will be taken to the final installation step where you will need to provide a title for your site, set your admin username, password and email address. Safely ignore “Search Engine Visibility” option as it has no impact on local server. Fill in the data and click “Install WordPress” button.

WordPress will quickly run the install and you will land on the following page.
Enable Preety Links for your Local WordPress site
By default, if you take a look at the URL of local site, you will see something like http://localhost/simple/?p=1 which is um… not very preety. To enable preety links on your local site, you need to do two things.
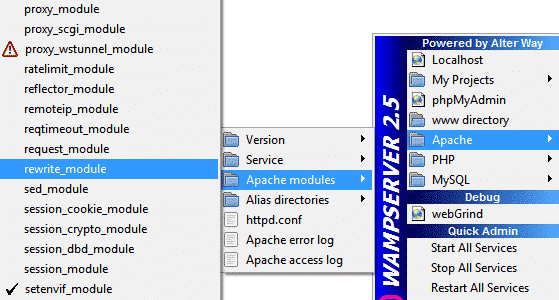
Click on the WAMP icon on your notification area, select “Apache”, then “Apache modules” and search for “rewrite_module”. If a tick mark is not present before it then it means that it is not active. Click it to enable this.
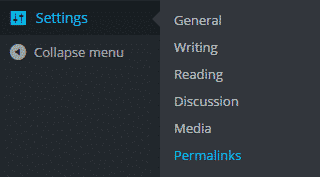
Next go to your WordPress Dashboard > Settings > Permalinks
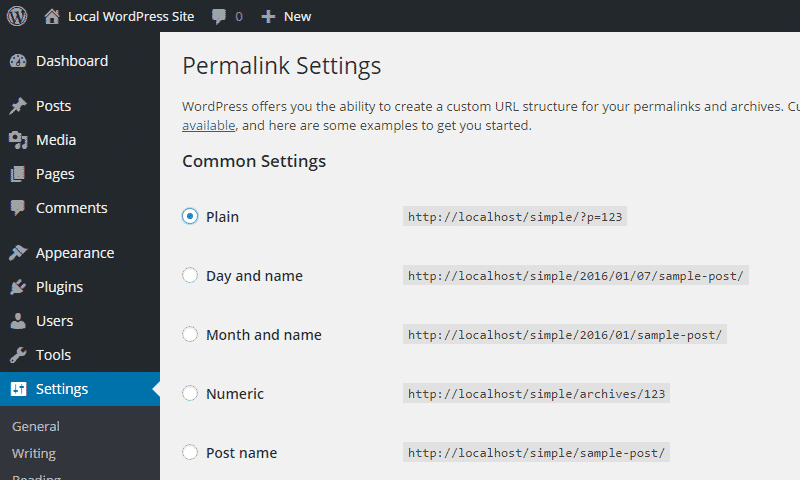
Select any link structure that you like and click “Save Changes” to enable preety links for your local WordPress site.
Final Thoughts
Setting up a local environment for your WordPress will give you a safe testing environment away from a live site. Your site will load almost instantly. You can install and test all sorts of plugins and theme for your blog, play around with them till you find what you are looking for.
You can now use your local environment to explore this beautiful platform that is WordPress. You can also create a free WordPress powered site at wordpress.com Do remember that while on a local environment, the only one who can see the site is you. If you want the site to be available over the internet, then you must move online.